Blog - [City], [state]
Tips, Facts, And The
Latest In Dentistry

Your Step-by-Step Guide to the Implants Procedure Steps at Dental Arts
Posted in Dental Implants

Your Step-by-Step Guide to the Implants Procedure Steps at Dental Arts Intro This guide will walk you through the implants procedure steps so you know what to expect at every stage. You’ll learn about the timeline from consultation to final restoration, typical recovery, and expected outcomes. Read on to get a clear, practical view of each step so you can feel confident if you’re considering implants.
Quick overview: What a dental implant is
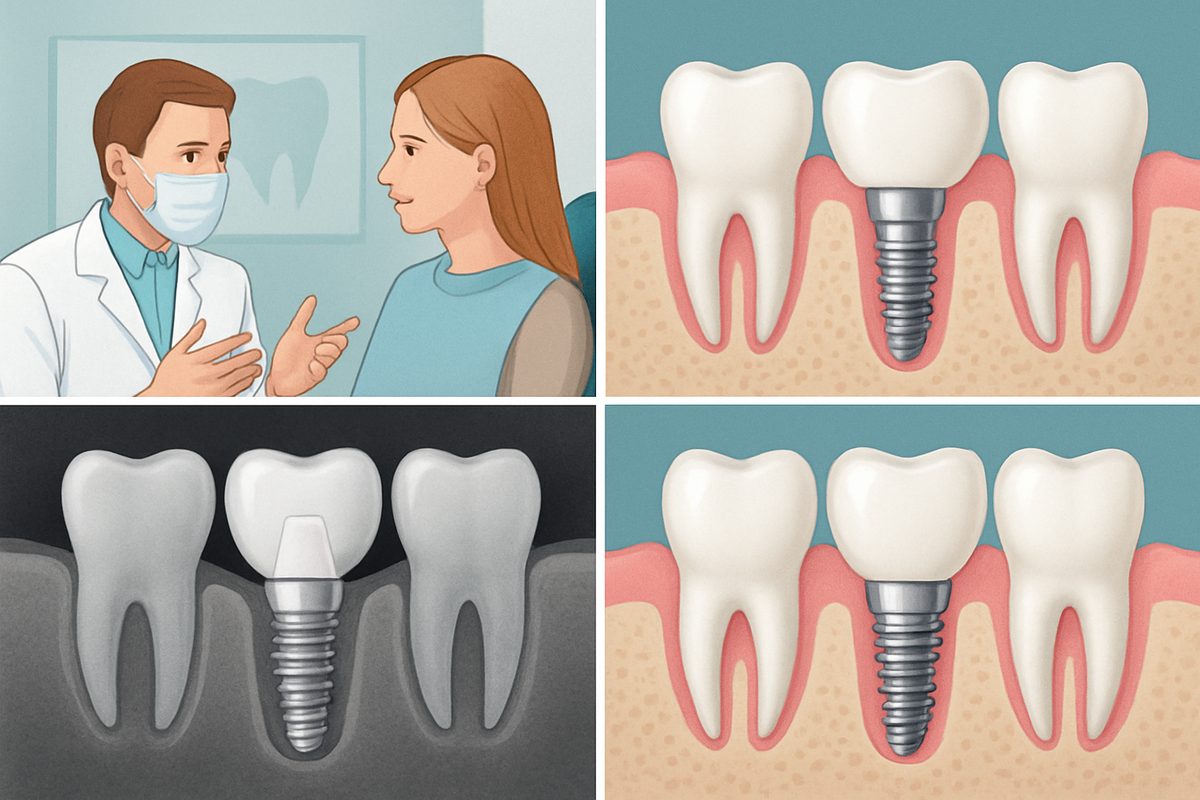
A dental implant is a small titanium post placed into the jawbone to replace a missing tooth root. Once the implant fuses with bone, it supports a crown, bridge, or denture. A single implant replaces one tooth. An implant-supported bridge uses two or more implants to hold several teeth. Full-arch options like All-on-4® use four strategically placed implants to support an entire upper or lower set of teeth for a fixed, stable solution.
Pre-treatment: consultation and planning for implants procedure steps
Medical and dental history review
Your dentist reviews medical conditions, medications, and habits like smoking. Conditions such as diabetes or certain medications can affect healing. Honest answers help reduce risks and shape an appropriate plan.
Clinical exam and imaging
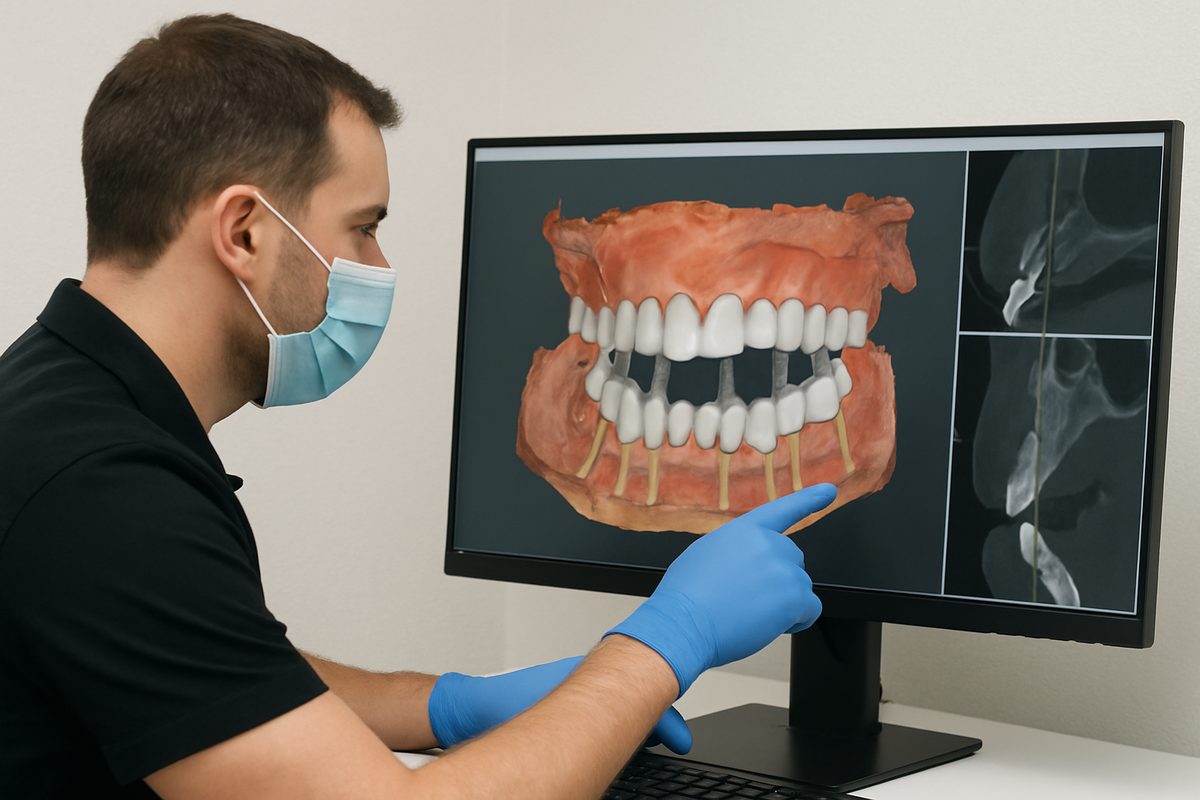
Expect a clinical exam plus 3D imaging like CBCT, digital x-rays, and intraoral photos. These images map bone volume, nerve pathways, and sinus locations. Good imaging lets the team plan implant position and avoid complications.
Treatment plan and options
Your plan will outline single vs multiple implants or an All-on-4® approach, estimated timeline, and cost. The team will discuss financing and insurance basics so you can plan. Plans may include staged care if grafting or other prep is needed.
Surgical steps: what to expect during implant placement
Anesthesia and comfort measures
Most implant surgeries use local anesthesia so the area is numb. Sedation options (oral or IV) are available for anxiety or longer cases. The goal is to keep you comfortable; pain is managed with local blocks and prescription or over-the-counter meds afterward.
Placing the implant
The surgeon makes a small incision, exposes bone, and uses a series of drills to create a precise slot for the implant. The implant is screwed into place and the gum is sutured. The whole process is done to exact measurements so the implant fits securely in bone.
Bone grafts and sinus lifts (if needed)
If bone is thin, a bone graft may be placed to build volume. For upper back teeth, a sinus lift may be needed to create room for the implant. These add steps and healing time but enable stable implants in cases that otherwise wouldn’t be possible.
Healing phase: osseointegration and temporary care
Osseointegration is when bone grows around the implant and locks it in place. This usually takes several weeks to a few months depending on health and where the implant is placed. During this phase avoid heavy biting on new implants.
Temporary restorations and daily care
You may receive a temporary crown or denture. Clean around the site gently with a soft brush and rinse as instructed. Stick to soft foods at first and watch for signs of normal healing (mild swelling, light bleeding) versus problems (increasing pain, heavy discharge).
Restoration steps: placing the final crown, bridge, or prosthesis
Abutment and impressions
Once the implant is stable, an abutment (connector) is attached to the implant. The team takes digital scans or impressions to design the final crown, bridge, or prosthesis that matches your bite and smile.
Fitting the final prosthesis
The final restoration is tried in and adjusted for fit, bite, and comfort. The dentist checks appearance and function, makes small adjustments, then secures the restoration. You leave with a long-term tooth replacement that feels and works like natural teeth.
Common risks, warning signs, and how they’re handled
Common side effects include swelling, bruising, and mild pain for a few days. Less common issues are infection, nerve irritation, or implant failure. Call your dentist if you have severe pain, fever, persistent swelling, pus, or numbness that doesn’t improve. Early treatment (antibiotics, cleaning, or minor surgery) usually resolves complications. In rare cases, an implant may need removal and replacement after healing.
Practical tips to prepare and recover well
Pre-op checklist: stop smoking if possible, arrange a ride home if you’ll be sedated, follow medication and fasting instructions, and prepare soft foods. Post-op tips: use ice packs for swelling, eat soft nutritious foods, avoid straws and smoking, take meds as directed, and keep follow-up appointments. Soft brushing and rinsing with saltwater or a prescribed rinse helps keep the site clean.
About Dental Arts of Oklahoma and why patients choose us for implants
Dental Arts of Oklahoma offers multi-location care across Catoosa, Tulsa, Bixby, Locust Grove, and Nowata with modern tech like CBCT and guided planning for predictable implant outcomes. The team provides patient-first care, clear pricing options, and full-scope services including All-on-4® for full-arch needs. Dr. Soren Michaelsen and the team combine advanced training with a focus on comfort and long-term results patients trust.
Next steps and a simple CTA
If you’re ready to learn more about implants procedure steps for your smile, schedule a consultation. A personalized exam and CBCT scan will produce a tailored plan and timeline so you know exactly what to expect. Contact Dental Arts of Oklahoma to book your visit and get a clear treatment plan.


